Mixagem de Voz: Dicas Essenciais e Truques para Faixas com Som Profissional
Escrito por
Publicado em
2 de agosto de 2024
Os tempos mudaram desde minha primeira experiência gravando em um gravador de cassete Tascam de 4 trilhas. Quando descobri minha paixão pela música, nunca pensei em ser um engenheiro de mixagem; apenas assumi que tocaria guitarra em uma banda, escreveria músicas, faria shows e, esperançosamente, um dia acabaria em um estúdio de gravação. Tive a sorte de poder fazer todas essas coisas. Mas vivemos em um mundo diferente agora – um mundo onde todos têm o equivalente a um estúdio de multi-milhões de dólares em seus laptops e até alguns aplicativos impressionantes em seus telefones. Os músicos nunca tiveram mais controle criativo do que têm hoje. Com esse controle vêm habilidades e capacidades que vão além de aprender um instrumento.
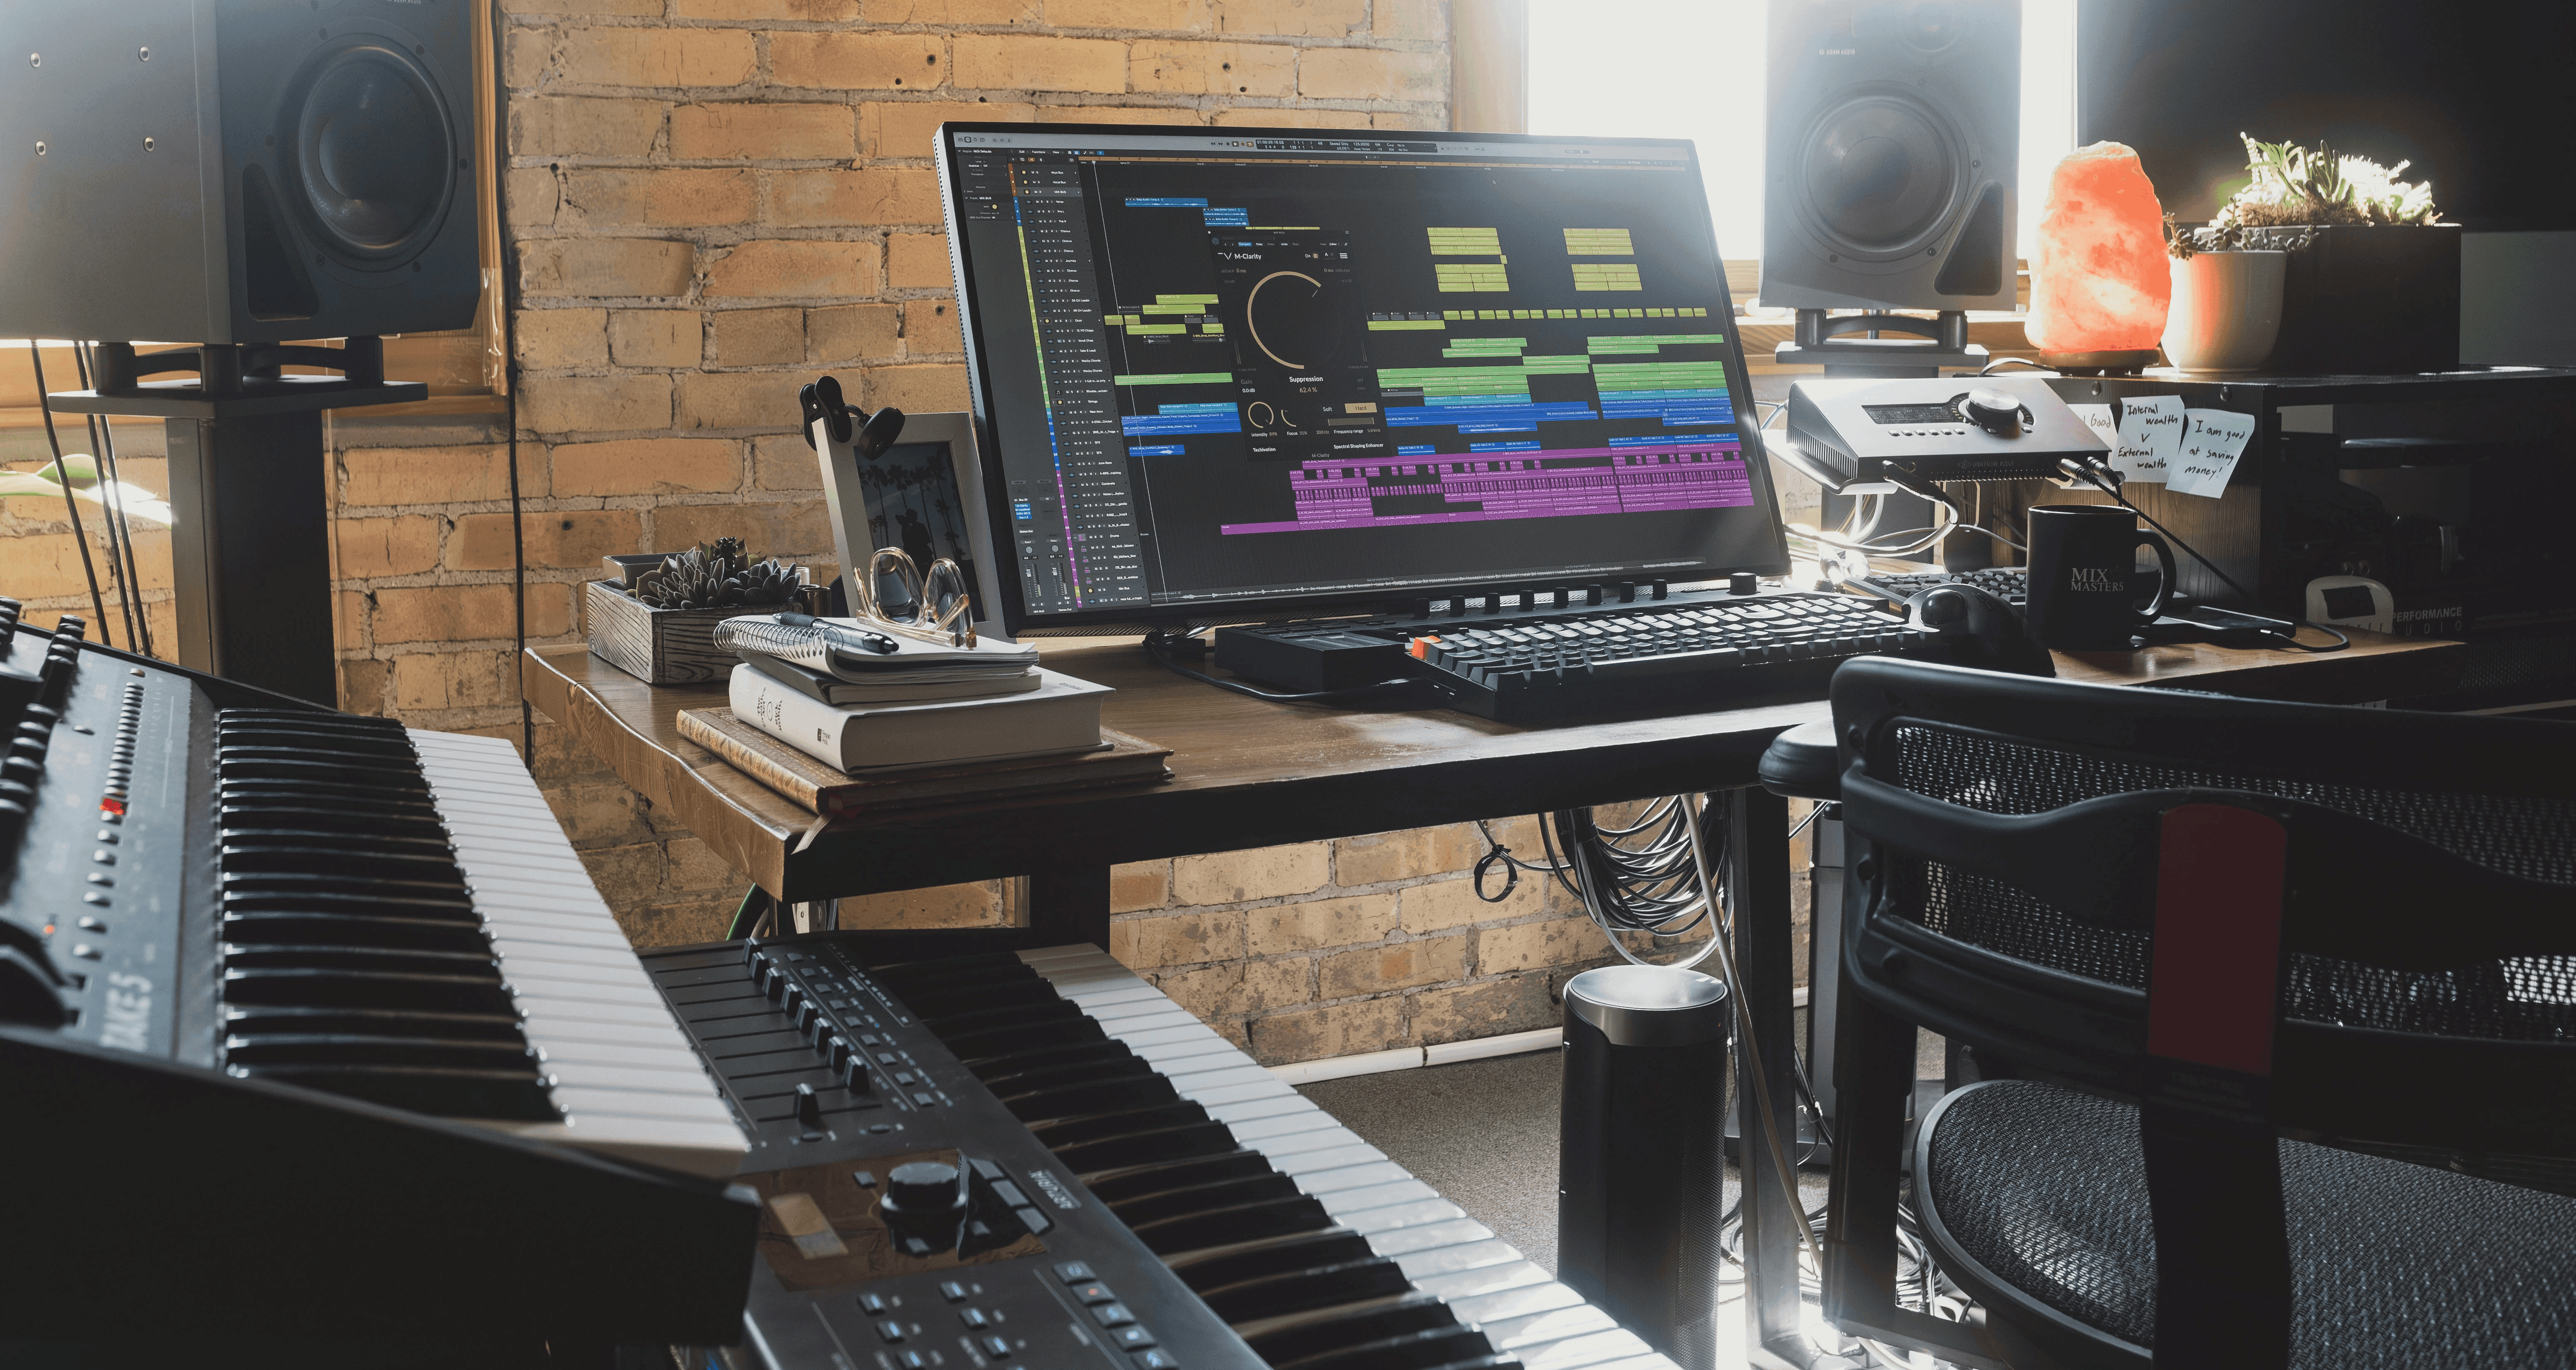
Os vocais são tipicamente o centro de uma faixa. A voz humana varia amplamente em alcance, tom e timbre, e essas variáveis precisam ser consideradas para mostrar suas faixas vocais da melhor maneira possível. Conseguir um som vocal perfeito e fazer os vocais soarem profissionais são cruciais nesse processo. Várias técnicas e ferramentas, como autotune, reverb e plugins como o Nectar 4, podem ajudar a melhorar os vocais para atender aos padrões da indústria e criar um produto final polido. Este artigo irá explorar diferentes técnicas para ajudar suas faixas vocais a se encaixarem exatamente onde você precisa delas.
Estabelecendo a Fundação: Ferramentas Essenciais para Mixagem Vocal
Depois de ter escrito uma ótima música, gravado todos os instrumentos e registrado uma performance vocal inspiradora, é hora de colocar o chapéu de engenheiro de mixagem (gorro que cobrem suas orelhas não são recomendados). Quando se trata de mixar vocais, há um conjunto padrão de ferramentas usadas para resolver problemas tradicionais que costumam surgir com os vocalistas. Uma cadeia vocal típica geralmente consiste em EQ e compressão, mas outras ferramentas como de-essing, reverb e efeitos vocais criativos podem ser utilizadas para ajudar a ajustar o vocal para se misturar perfeitamente com a vibe e a direção geral de sua faixa. A cadeia de mixagem vocal é essencial, pois inclui vários elementos de processamento, como plugins de reverb e delay, que contribuem para alcançar sons vocais polidos e profissionais. A ordem da cadeia vocal pode variar – algumas pessoas preferem EQ antes da compressão, enquanto outras escolhem compressão antes do EQ. Experimentar ambos os métodos pode ajudá-lo a determinar o que funciona melhor para sua faixa específica.
Compressão é uma ferramenta crucial na mixagem vocal, ajudando a controlar a faixa dinâmica da performance. A redução de ganho desempenha um papel significativo na nivelamento das faixas vocais, mantendo a integridade dinâmica, garantindo um som polido sem sacrificar a clareza ou introduzir artefatos. Ao ajustar cuidadosamente as configurações do compressor, você pode alcançar um nível vocal consistente que se encaixa bem na mixagem.
Esculpindo o Som Perfeito com Equalização
Encontrar a curva de EQ perfeita para sua faixa vocal envolve lidar com muitas variáveis. O timbre pode mudar de acordo com o gênero e a abordagem vocal de uma pessoa, e o tipo de microfone usado também é um fator significativo. Microfones mais baratos costumam acentuar as altas frequências, podendo conferir um caráter estridente e áspero mesmo aos cantores mais talentosos. No entanto, vivemos uma era de ouro da fabricação de equipamentos de gravação, e empresas como Warm Audio produzem microfones acessíveis que conferem um tom complementar a um preço razoável. Também deve ser notado que muitos dos melhores cantores do mundo ainda preferem cantar em microfones acessíveis, como o Shure SM57, mesmo quando têm a opção de usar microfones vintage alemães.
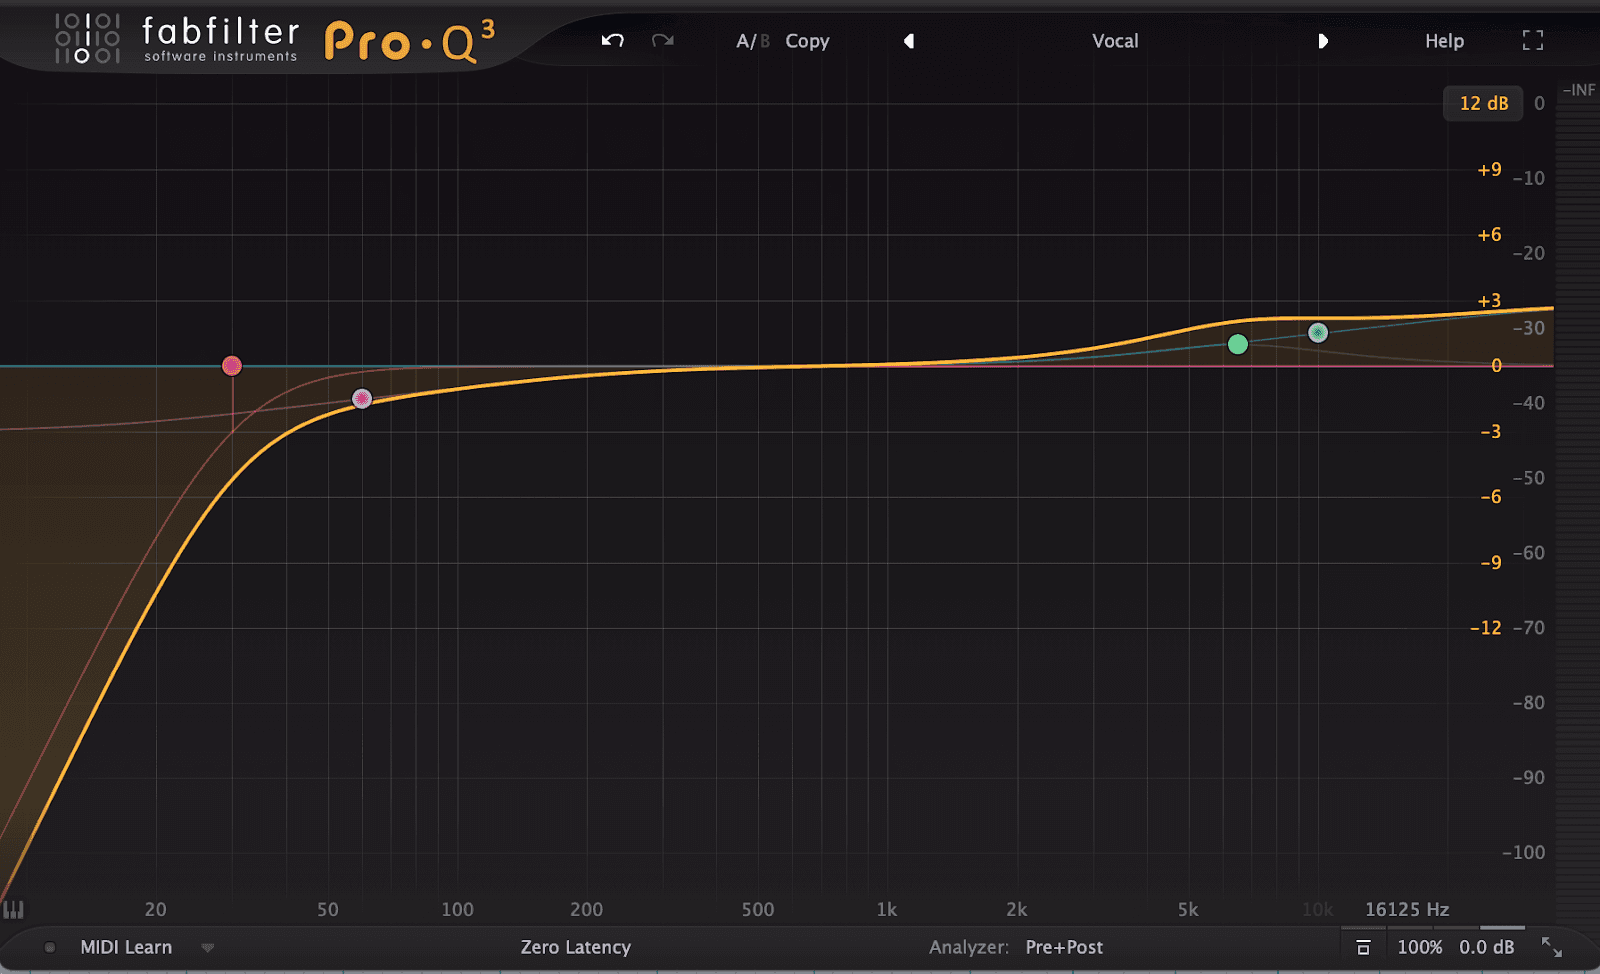
A base fundamental do uso de EQ é remover quaisquer frequências indesejadas e realçar as desejáveis. O EQ vocal é crucial para refinar e realçar as faixas vocais cortando frequências indesejadas e aumentando outras para melhor clareza e presença. Um dos melhores plugins vocais para EQ é o FabFilter Pro-Q3, que oferece um ótimo visualizador para ajudar a localizar picos e rumble indesejados.
Elaborando Sua Estratégia de EQ Vocal
Aplicando um Filtro Passa-Alta: Rumble de baixa frequência é comum durante gravações. Pode ser causado por um carro passando ou pela vibração do suporte do microfone devido a passos ou batidas. Normalmente, qualquer coisa abaixo de 80-100 Hz será informação desnecessária, que apenas embaralha a faixa. Experimente aplicar um filtro passa-alta nessa faixa, removendo qualquer áudio que não prejudique o tom básico de graves do cantor.
Removendo o Muco: Outro culpado do acúmulo potencial de muco pode existir na faixa de 150-350 Hz. Experimente cortar, mas tenha cuidado para não exagerar, pois isso também pode ser uma fonte de corpo e potência.
Realçando a Clareza: Compreender a mensagem lírica é crucial para uma mixagem vocal bem-sucedida. Aumentar 2,5-5 kHz pode melhorar a inteligibilidade das palavras, mas use cuidado, pois essa área também pode ser propensa a aumentar a aspereza.
Adicionando Brilho nas Altas Frequências: Após abordar todos os pontos de frequência fundamentais, a última ação costuma ser aplicar uma sensação de "ar" na ultra-alta frequência do espectro, normalmente entre 8-15 kHz. Um leve aumento nessa faixa pode fornecer um toque polido e agradável ao tom vocal.
Antes de mergulhar nessas estratégias de EQ específicas, é importante considerar a compagem vocal. Compagem vocal é essencial para selecionar e mesclar os melhores segmentos de várias tomadas vocais em uma única faixa polida, garantindo que todos os elementos vocais estejam sincronizados de forma eficaz.
Domando Dinâmicas: A Arte da Compressão
A compressão controla a faixa dinâmica de um vocal e ajuda uma faixa a se destacar em uma mixagem. Essencialmente, a compressão torna as partes mais silenciosas mais altas e as partes mais altas mais silenciosas, nivelando uma performance para que possa ocupar um nível mais consistente. Comprimir o vocal principal é crucial para alcançar um som equilibrado dentro da mixagem. Os compressores tradicionais usados em vocais podem variar em opções de controle, mas dois dos compressores vocais mais utilizados são o Teletronix LA-2A e o Urei 1176. O Teletronix LA-2A, inventado no início da década de 1960, possui várias iterações como plugin. Seu design simples inclui apenas dois botões: Pico-Redução e Controle de Ganho. Usar um compressor como o LA-2A pode ser um ótimo ponto de partida para quem é novo na compressão. O Urei 1176 Peak Limiter, um descendente do LA-2A, expande as possibilidades de controle, oferecendo opções de relação, tempo de ataque e liberação, bem como botões de nível de entrada e saída.


Como muitos compressores modernos agora incluem opções de controle semelhantes ao 1176, usarei esses controles como minha base.
Relação: Comece com uma relação de 4:1 onde apenas os picos estão sendo comprimidos.
Ataque e Liberação: Um tempo de ataque mais lento preservará os transientes naturais da performance. A liberação deve ser ajustada para garantir uma recuperação suave entre as frases vocais.
Ganho de compensação: Aplicar compressão pode resultar em uma queda de volume no sinal original. Portanto, use o Ganho de compensação ou o botão de Saída para elevar a faixa ao nível apropriado.
Ferramentas de Processamento Adicionais e Efeitos Vocais: Reverb e Delay
Depois de encontrar um bom equilíbrio de compressão e EQ, ferramentas adicionais podem ser necessárias para completar um som vocal ideal.
De-Esser: Um de-esser é uma ferramenta usada para controlar a sibilância, o som de chiado produzido por palavras com "sh" ou "s." Esses sons ásperos podem atravessar uma mixagem como unhas em um quadro negro e precisam ser controlados para evitar distrações indesejadas ao ouvinte. Tive grande sorte com o FabFilter Pro-DS e OekSound Soothe. Abordar o ruído indesejado nas gravações vocais também é crucial para alcançar um som limpo e profissional.
Delay: Usar um efeito de delay em seu vocal pode criar uma maior sensação de profundidade e espaço. Experimente tanto um slapback (delay rápido) quanto um delay mais longo de oitava para vários níveis de expansão vocal. Soundtoys EchoBoy oferece uma ampla variedade de estilos de delay que valem a pena explorar.
Reverb: Assim como o delay, adicionar reverb a um vocal pode criar um som mais expansivo. Tenha cuidado para não exagerar, pois adicionar reverb demais pode deixar as coisas "soprosas" e dificultar a compreensão das letras. Valhalla VintageVerb é uma ótima opção acessível e de alta qualidade para experimentar.
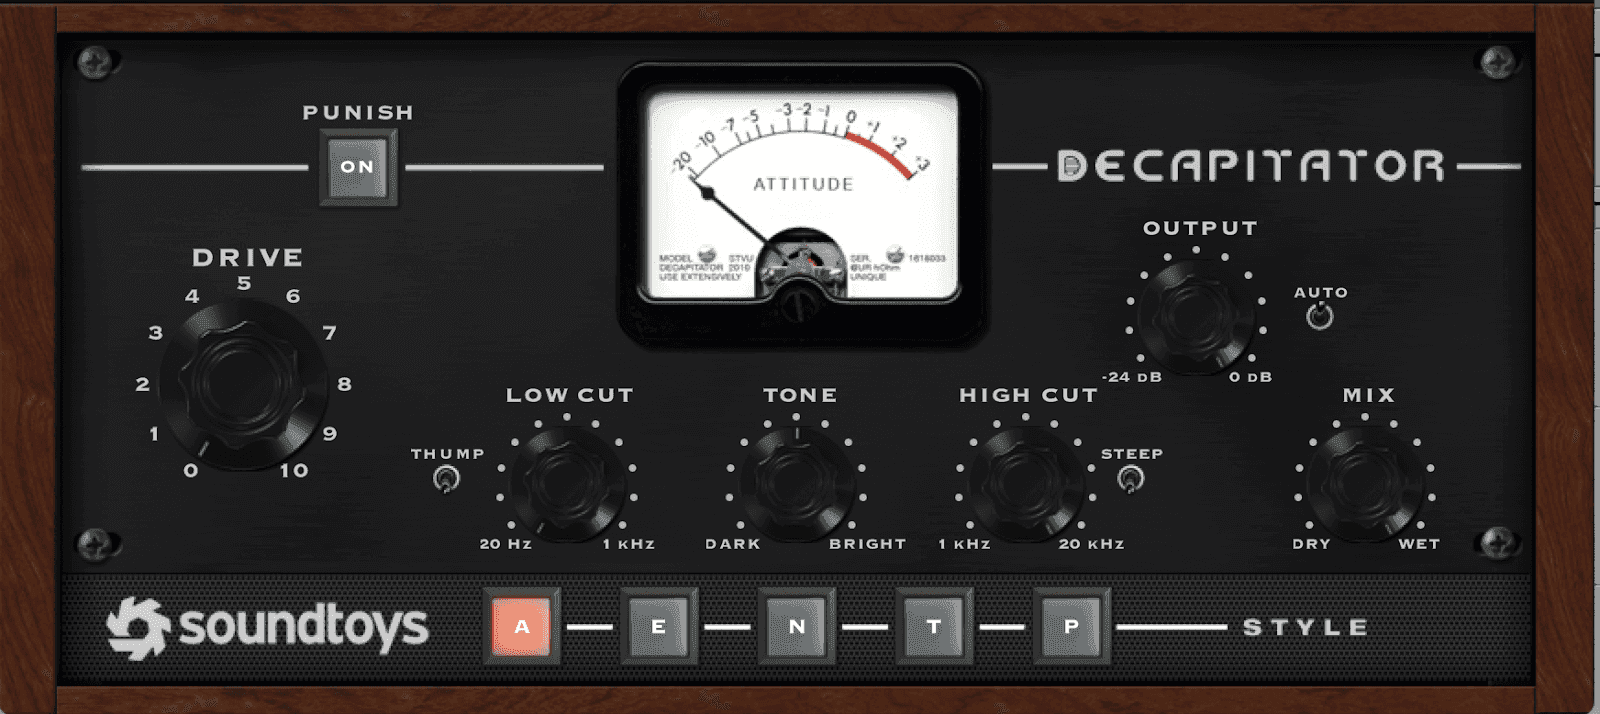
Saturação: Usar plugins de saturação como SoundToys Decapitator ou emuladores de fita, como o UAD Studer A800, pode aumentar o calor e a riqueza. Exagerar na saturação pode conferir aspereza, mas encontrar a quantidade certa pode ser mágica. Várias técnicas de processamento de áudio são essenciais para melhorar as gravações vocais e alcançar faixas com som profissional.
Mixando com Modelos Vocais de IA: Uma Abordagem Simplificada
Usar um modelo de voz de IA requer a mesma consideração cuidadosa que contratar um vocalista de sessão. Na Kits.ai, nossas vozes são treinadas eticamente com cantores incríveis de todo o mundo, garantindo qualidade de ponta. Ao incorporar um modelo de IA em sua faixa, lembre-se de que alguns processos e tratamentos podem já ter sido aplicados. Isso significa que qualquer EQ e compressão adicional devem ser tratados com um toque sutil. Além disso, refinar e processar gravações vocais é crucial para alcançar um produto final polido, incluindo técnicas como correção de pitch, compagem vocal e de-essing.
Kits.ai também agilizou o processo de produção, oferecendo efeitos como EQ, compressão, reverb e delay diretamente durante o processo de conversão. Veja como funciona:
Selecione "Converter."
Faça upload de seu stem vocal.
Escolha o modelo de voz que gostaria de usar.
Abra a aba "Configurações" para acessar uma ampla gama de ferramentas de produção.
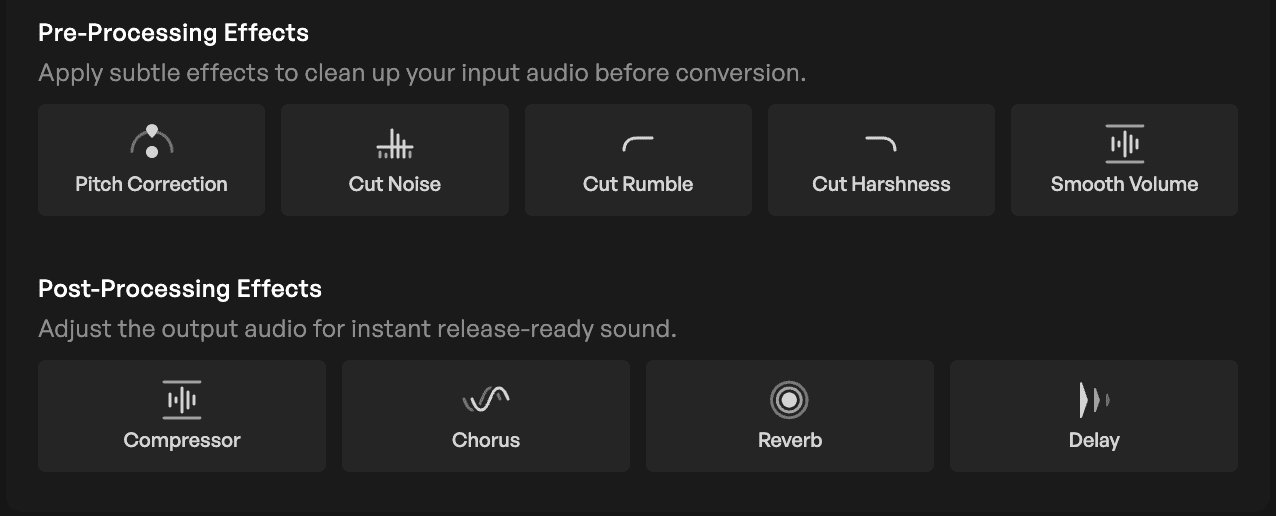
Ao simplificar esses passos, Kits.ai permite que você se concentre mais na criatividade e menos nas questões técnicas, tornando a integração de modelos vocais de IA em sua música fluida e eficiente.
Considerações Finais: Paciência e Prática Tornam Perfeito
Como qualquer nova habilidade, melhorar sua habilidade de mixagem leva tempo e prática. É importante lembrar que cada música provavelmente variará em abordagem necessária. O processo de mixagem vocal é um aspecto crucial para alcançar gravações vocais de alta qualidade na produção musical. Com paciência e dedicação, seus ouvidos o guiarão, e suas mixagens brilharão.
-SK
Sam Kearney é compositor, produtor e designer de som baseado em Evergreen, CO.
