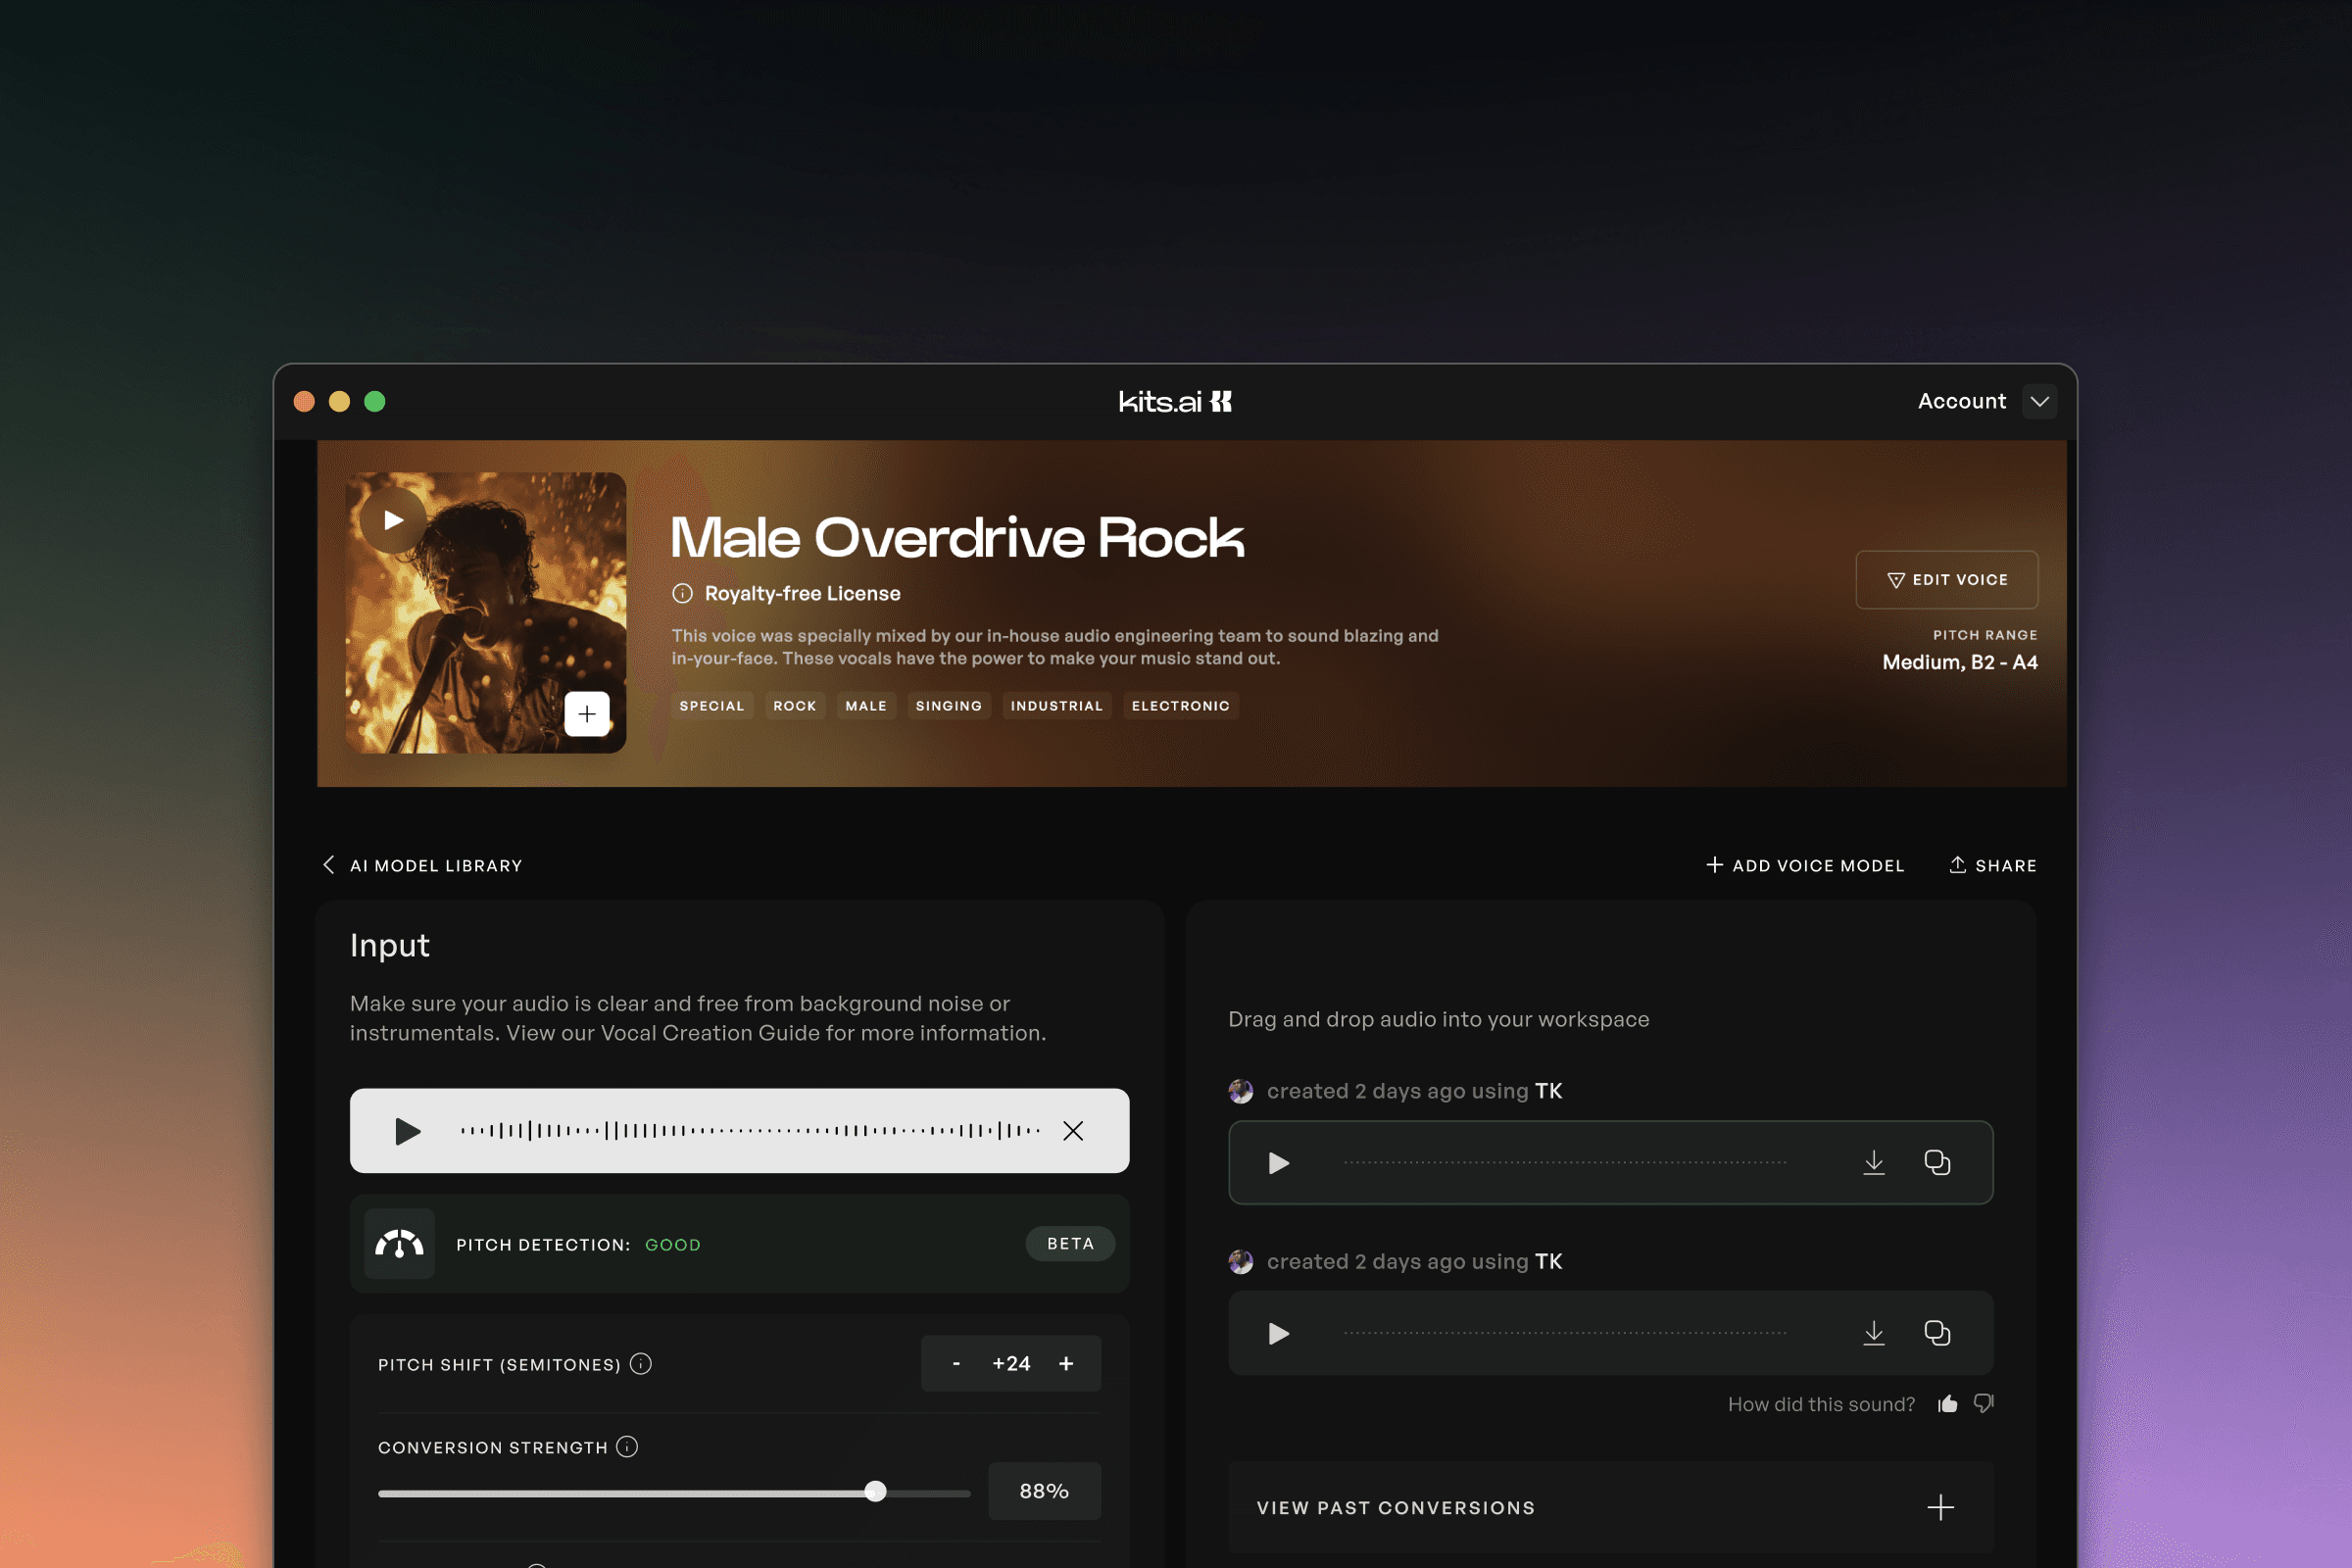
Cómo construir un vocalista hardcore con IA
Escrito por
Publicado el
18 de octubre de 2024
La semana pasada, desglosé el proceso de creación de nuestro nuevo modelo Female Vintage Jazz. Esta vez, estamos girando el dial completamente hacia el lado opuesto del espectro musical: punk y hardcore. Nacido del malestar político y social de los años 70, este género fue una respuesta rebelde a los excesos del rock mainstream. Influenciado por el garage rock de los años 60 y las primeras bandas de protopunk como The Stooges y The Velvet Underground, el punk surgió como un estilo de música crudo, enérgico y simplificado. ¿La belleza del punk rock? Literalmente cualquiera podía tomar una guitarra, gritar en un micrófono y empezar una banda—sin necesidad de teoría musical.
Pero, ¿cómo capturas esa energía caótica y directa en un modelo de voz de IA? Eso es lo que buscaba. Abrazar la naturaleza agresiva de este género requirió un enfoque un poco más fuera de lo común.
El Proceso de Creación Vocal
Usando nuestro conjunto de datos de Male Strained Rock como base, probé un par de direcciones antes de llegar a la que parecía capturar la vibra que buscaba para crear Male Overdrive Rock.
Usar un Amplificador
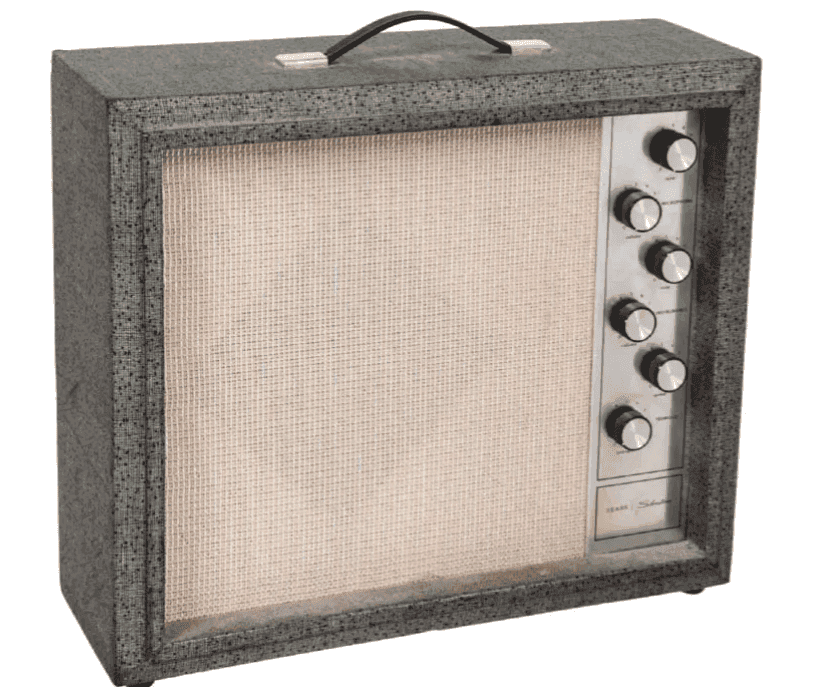
Sabiendo que quería transformar completamente el conjunto de datos original, pasé las voces originales a través de mi amplificador Silvertone 1482 de los años 60. Sí, del tipo que pedirías de un catálogo Sears junto a tu tostadora. Conocido por su sonido sucio y saturado, este amplificador fue la clave para lograr esa actitud punk de banda de garaje-DIY.
Usar el Micrófono Correcto
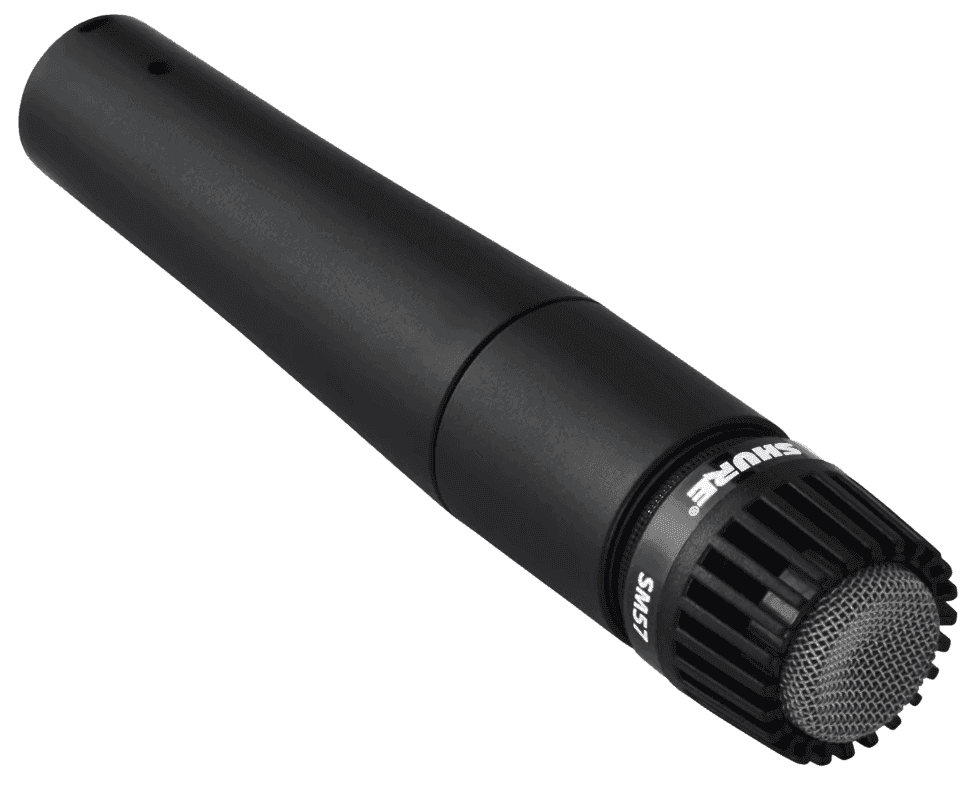
Usando un Shure SM57 "probado y verdadero" para microfonear el gabinete, estos micrófonos adoran las guitarras y son excelentes para enfatizar ese golpe en los medios. Es como si hubieran nacido para capturar el grano.
Preamplificador y EQ
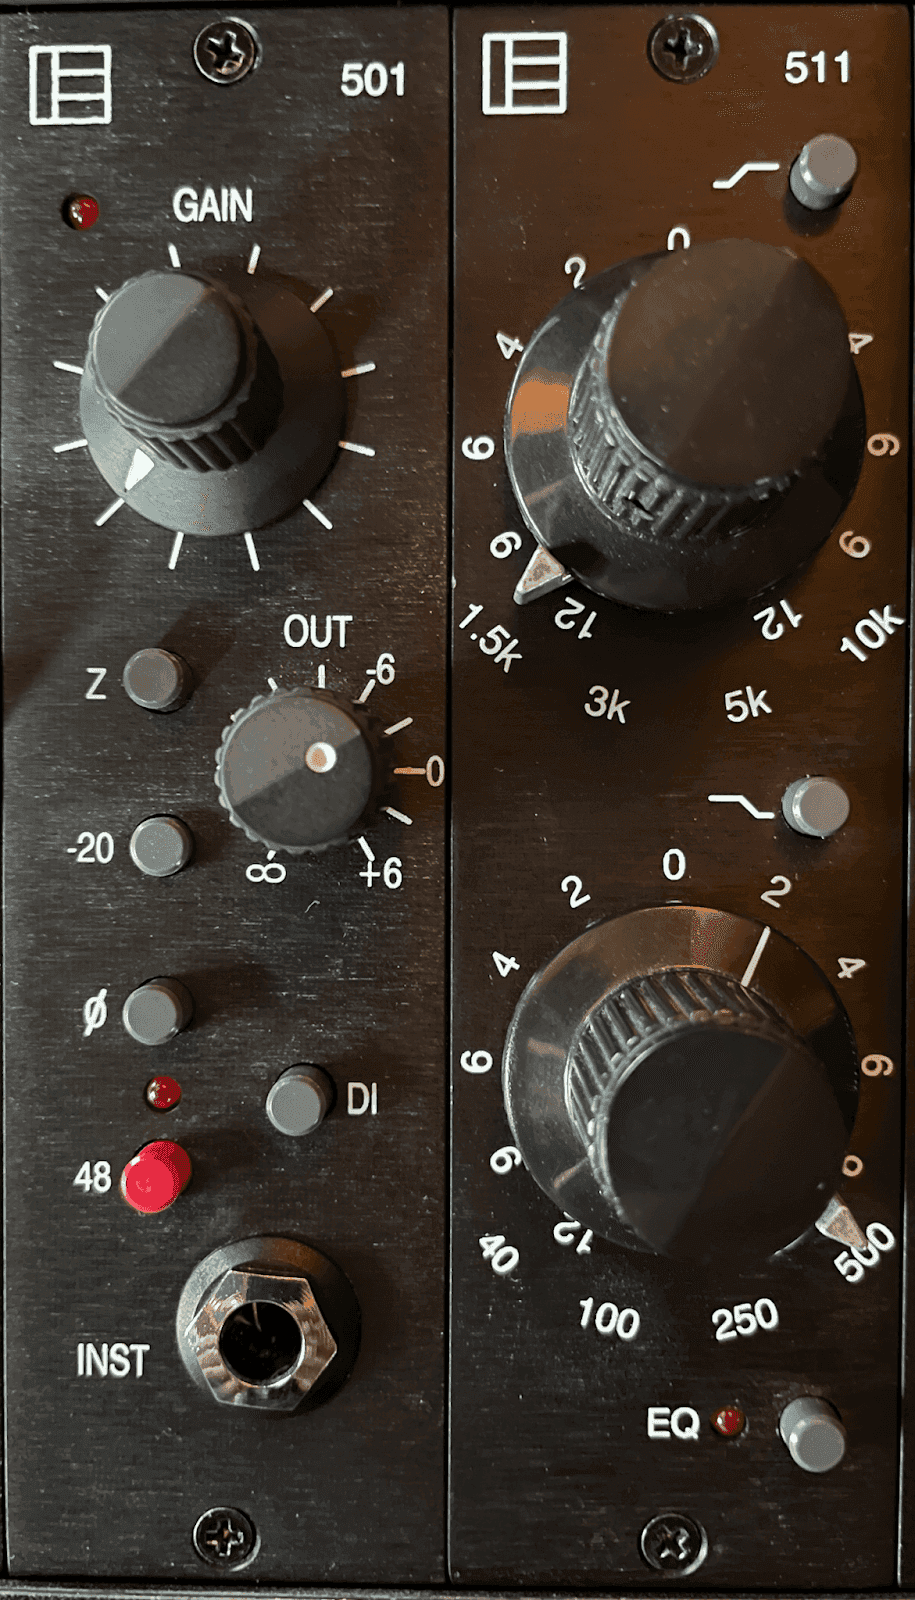
Desde allí, alimenté la señal a un preamplificador y EQ de la serie Electrodyne 500–mi salsa secreta tanto para guitarras como para bajos. Los Electrodyne tienen la capacidad de resaltar la riqueza tonal de maneras que no esperarías. No mucha gente está aumentando 500 Hz en amplificadores de guitarra, pero créanme, este EQ hace magia en ese rango.
Consejo profesional: Si estás pensando en adentrarte en el procesamiento analógico, comienza con un lunchbox de la serie 500. Es una excelente manera de comenzar sin gastar una fortuna en equipo de rack. Me fogué con un lunchbox de 6 espacios de API, y la portabilidad es un cambio de juego. Perfecto para esas sesiones improvisadas en el sótano de tu amigo.
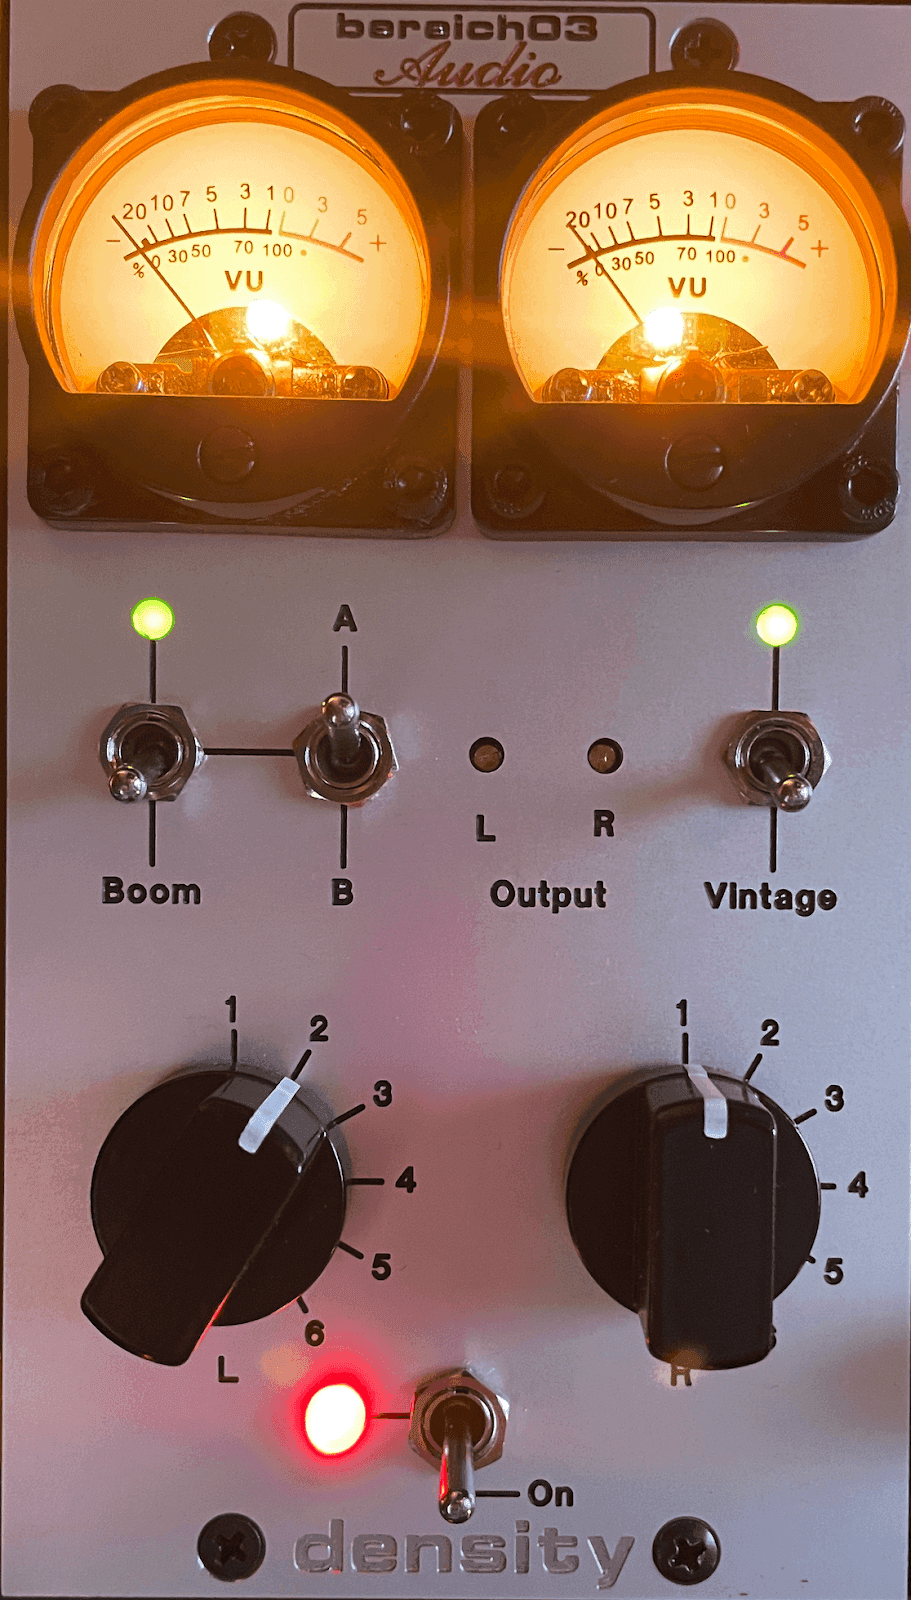
Siguiente parada: el Bereich03 Density. Un poco de saturación sutil y un poco más de manipulación del ecualizador con la configuración "Vintage" activada, simplemente acierta.
Suavizar los Picos de Frecuencia
Luego lo pasé por el UBK Fatso para un poco de compresión y una suave reducción en el extremo superior para mantener esos picos bajo control. Nada demasiado fuerte, solo lo suficiente para mantener la energía viva sin que se descontrole.

Finalmente, lo completé todo con el Chandler Limited Germanium Tone Control. Este aparato está descontinuado ahora, pero es uno de mis EQ favoritos. La superposición de saturación y distorsión, especialmente con voces, a veces puede crear una resonancia media exagerada. Usé el Chandler para atenuar algunos 3k y limpié unos medios bajos fangosos a 320 Hz. Todo se trata de mantener esa agresividad afilada, sin permitir que las cosas se vuelvan demasiado puntiagudas o ásperas.

Mira la transformación por ti mismo:
Si bien los plugins son definitivamente más convenientes, el equipo analógico trae una vibra diferente a la mesa. La belleza de lo analógico son sus limitaciones–sin presets interminables, solo tú y tu oído tomando las decisiones. No estoy a punto de entrar en modo de máquina de cinta completa, pero he visto a muchos productores quedar atrapados por lo visual. No necesitas una pared de equipo analógico para obtener grandes resultados, pero solo recuerda confiar en tus oídos.
-SK
Sam Kearney es un productor, compositor y diseñador de sonido con sede en Evergreen, CO.
