Técnicas para crear tu propio modelo de voz vintage

Escrito por
Sam Kearney
Publicado el
9 de octubre de 2024
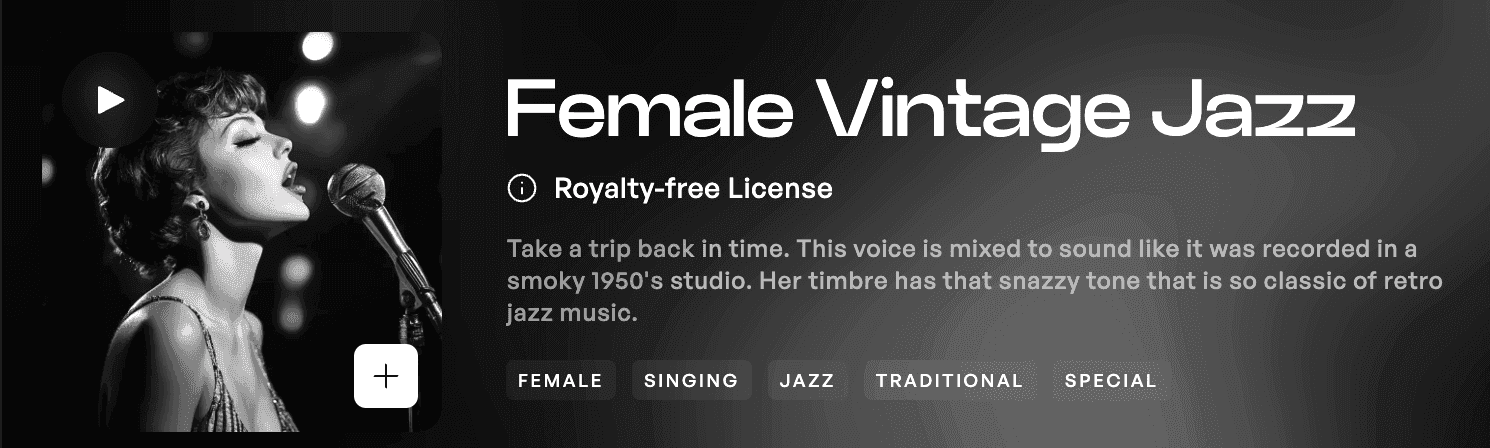
¡Hablemos de vibraciones vintage, amigos! Kits acaba de lanzar un modelo de voz completamente nuevo inspirado en el cálido y conmovedor sonido de las primeras grabaciones de jazz. Estoy hablando de tonos ricos y aterciopelados que podrían transportarte directamente a un club de jazz humeante de Nueva York de la era dorada. ¿Y adivina qué? ¡Lo hice! Conozcan a Female Vintage Jazz. Este modelo captura la esencia de esa época, y hoy, voy a desvelar cómo todo se reunió. Mi objetivo aquí no es solo volverme loco por el equipo vintage (aunque eso definitivamente sucederá), sino mostrarte cómo pensar fuera de la caja, ya sea analógico o digital, puede ayudarte a crear algo verdaderamente único.
Prepárense, nos adentramos profundamente en un mundo de micrófonos de cinta, válvulas y algo de mojo sónico realmente genial.
Una pequeña lección de historia
¿La primera mitad del siglo XX? Sí, fue algo importante. Claro, hubo cosas pesadas: dos guerras mundiales, la Gran Depresión y el ascenso de demasiados dictadores, pero, ¡oye, no todo fue fatalidad y tristeza! Esta también fue la era dorada de los avances tecnológicos. Innovaciones en el transporte, energía atómica y el auge de la radio y la televisión revolucionaron la vida cotidiana. Y con esos nuevos medios brillantes vinieron herramientas de grabación aún más brillantes.
En ese entonces, los ingenieros trabajaban con micrófonos de cinta, preamplificadores de válvulas y cinta analógica, a menudo en condiciones que harían que los ingenieros de sonido de hoy se estremezcan. Según los estándares modernos, muchas de estas herramientas no se considerarían la cúspide de la fidelidad moderna. Pero aquí está el truco: estas herramientas tenían carácter, y muchas sobrevivieron años de continuo progreso en la industria. La gente se enamoró de la huella sonora que dejaron en las grabaciones clásicas, y esos tonos cálidos y únicos han resistido la prueba del tiempo, transmitidos de generación en generación.
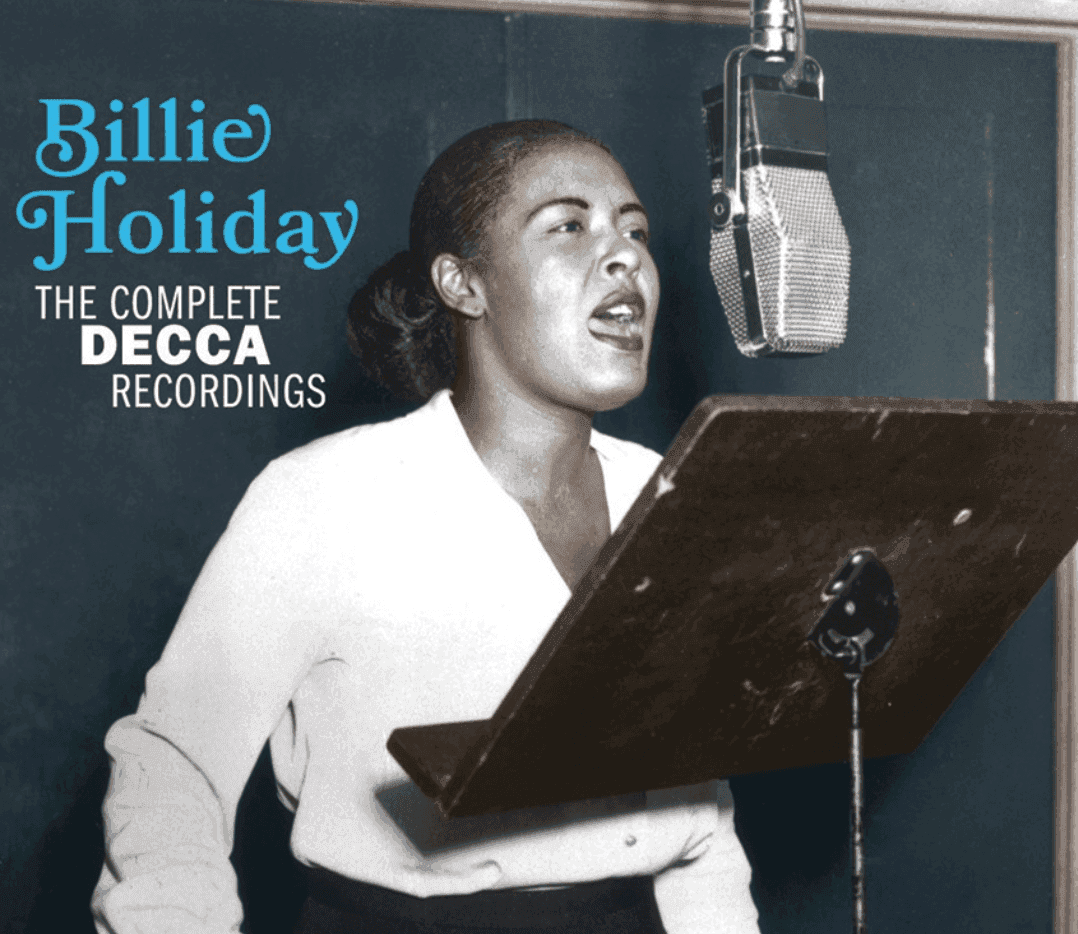
Billie Holiday grabando con un micrófono de cinta RCA 44.
Durante la era dorada del jazz, las válvulas de vacío (también conocidas como válvulas) eran una parte fundamental del equipo de audio, incluidos micrófonos, amplificadores y consolas de grabación. Los micrófonos de cinta, como el RCA 44 (en la foto), se usaban comúnmente durante este período y se emparejaban con preamplificadores de válvulas para amplificar la señal. Estos micrófonos de cinta tenían un sonido suave y cálido, y la electrónica de válvulas de las consolas de grabación contribuía a su rica calidad tonal característica.
Para este modelo de voz vintage, quería acercarme lo más posible a ese sonido. Así que fui completamente analógico, ¡y déjame decirte, fue una explosión!
Mi proceso: ir completamente analógico (porque, ¿por qué no?)
Aquí está cómo recreé la vibra vintage:
Micrófono
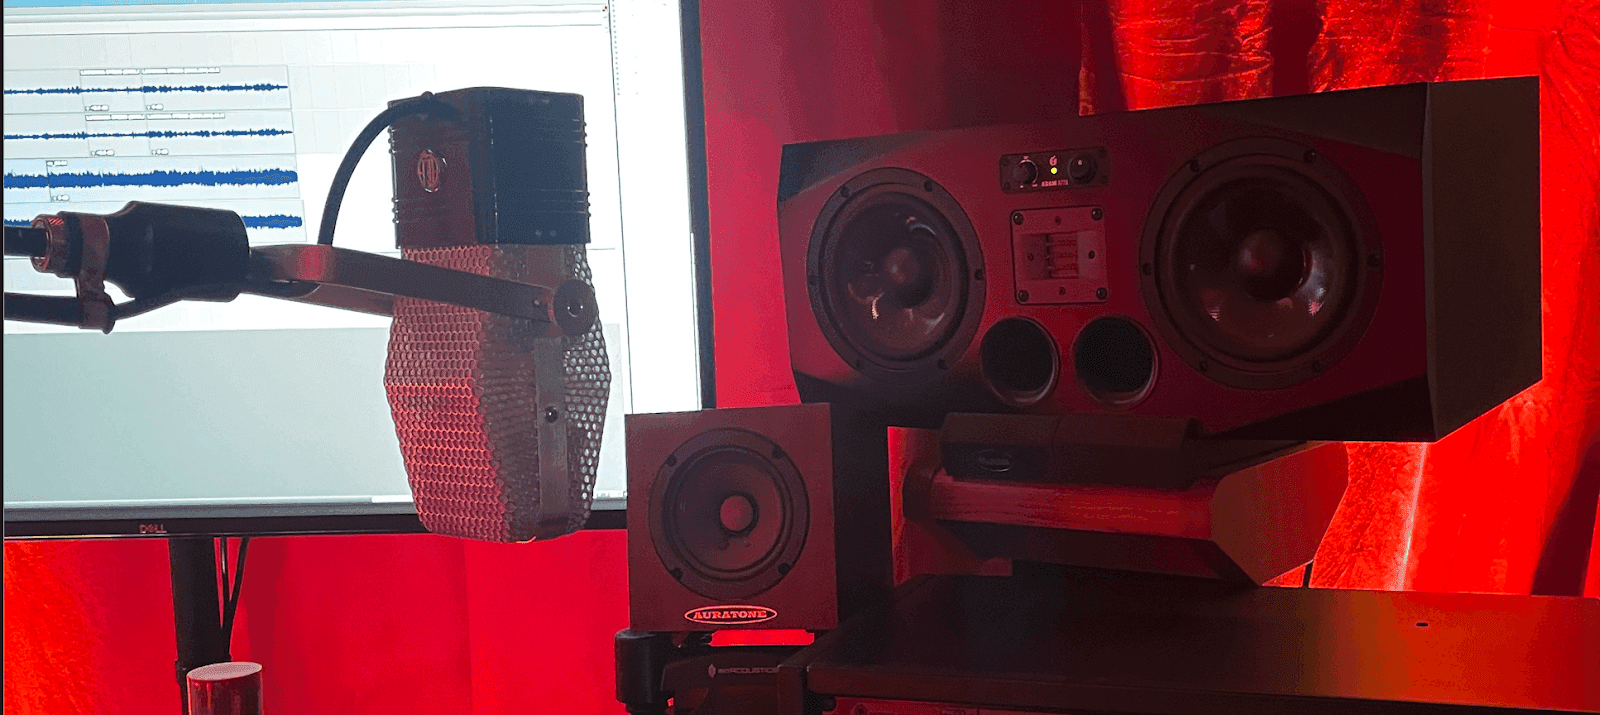
Al igual que Billie Holiday grabando con un RCA 44, configuré un micrófono frente a uno de mis monitores de estudio de confianza, fingiendo que era mi cantante de jazz del día. Usando un soporte resistente (debe soportar un tanque), configuré una reproducción moderna de este micrófono de cinta estilo 44, construido por la buena gente de AEA, quienes reproducen meticulosamente estos micrófonos según las especificaciones exactas de los originales. Si tienes un presupuesto ajustado, hay opciones sólidas de Warm Audio y Pinnacle que no te romperán el bolsillo.
Preamplificación
Lamentablemente, no tengo una colección de preamplificadores de válvulas vintage (un hombre puede soñar), pero tengo un Chandler REDD.47. Este chico malo está basado en la unidad EMI usada en los Estudios Abbey Road en los años 60. No es exactamente lo que usaban Billie y su equipo, pero tiene ese mismo tono cremoso y rico de válvula.

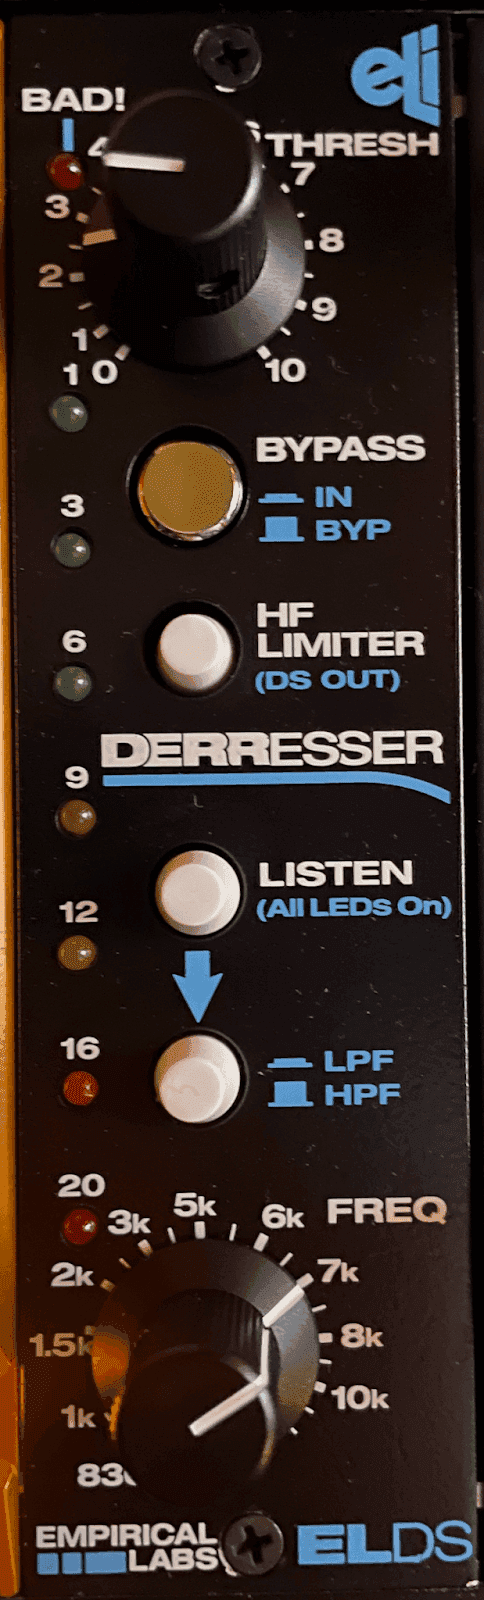
De-essing
Los micrófonos de cinta ya tienen un extremo superior naturalmente suave, pero para realmente destacar esa vibra vintage, agregué un de-esser para domeñar aún más las altas frecuencias y acentuar aún más ese tono de la vieja escuela. ¡No pasará ninguna sibilancia!
Saturación
Para agregar esa calidez armónica extra, pasé la señal a través de un Overstayer Saturator. Para mis amigos digitales, el Soundtoys Decapitator es una alternativa increíble.

Compresión
Usualmente, soy un chico de
Empieza, gratis.
Optimiza tu flujo de producción vocal con herramientas de audio AI de calidad de estudio
